
One of my husband’s and my kiddo’s favourite foods is pizza — so much so that we have pizza once a week! I won’t deny that fast food, for all its countless downsides, has become one of everyone’s eating habits. So I decided to roll up my sleeves and make something my family would actually prefer to the restaurant version.
I’m willing to guarantee it: if you let your dough rest properly and control your oven temperature and baking time, you’ll get the same result after two or three tries.
Working with dough is a brand-new experience every single day. If you put in a little time each day, those experiences start to become consistent and you’ll reach the result you’re after. Taking your time — and writing down your mistakes — also helps you arrive at an ideal you can be happy with.
Many things go into a delicious pizza, but in my view two matter more than all the rest: the dough and the sauce. I’ve tried plenty of recipes for both, and in the end two dough styles and one sauce became my personal standards for pizza night. Here they are.
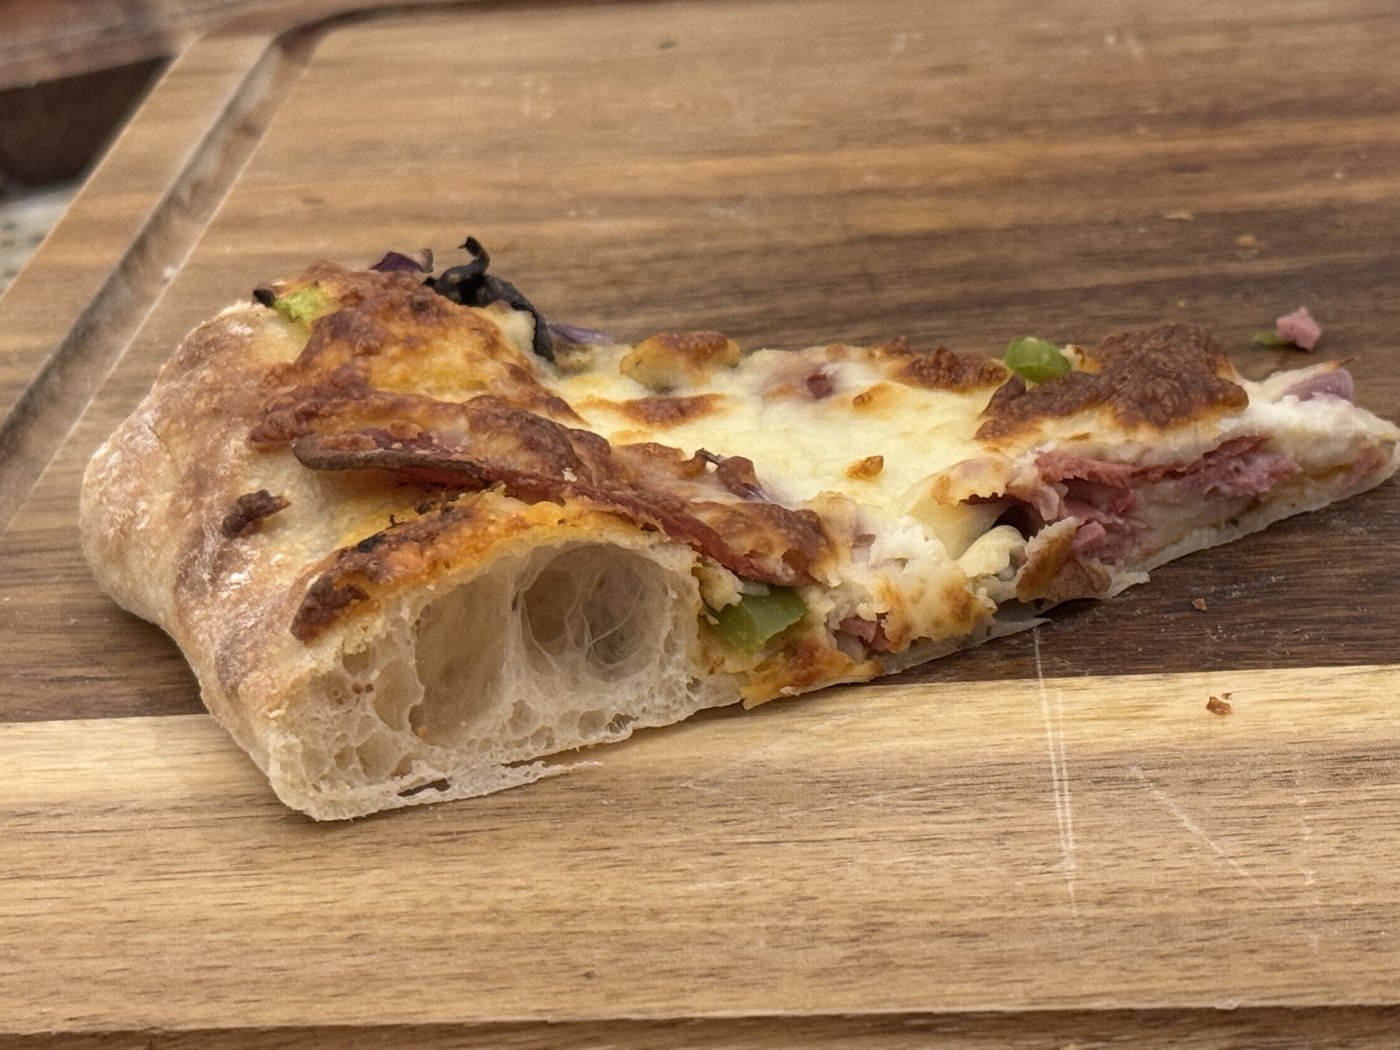
Migmom 3 Hour Pizza
Ingredients
Method
- Put the olive oil and butter in a pot — ideally an enamelled one, which is best for any kind of sauce — and warm it over gentle heat. Sauté the grated onion and garlic until golden.
- Add the tomato paste and grated tomato, then the remaining sauce ingredients, stirring constantly. After a few minutes, once the sauce has come together and everything is fully combined, turn off the heat and remove the bay leaf.
- Mix the water with the flour and cornmeal and let it rest at room temperature for half an hour — this is the autolyse.
- Add the yeast, salt, sugar and oil to the flour-and-water mixture and work them in by hand. Let the dough rest about half an hour, then do three rounds of stretch-and-fold (or coil-and-fold), one every fifteen minutes.
- Let the dough rest about two hours, until it doubles in size. Divide it into balls and give it time to double again. This batch makes two dough balls — or shape it into one large rectangle or round, depending on your pan.
- Using a stand mixer? The steps are exactly the same: once the remaining ingredients are mixed into your autolyse, carry on working the dough on the counter until it is smooth and uniform.
- How you stretch the dough depends on your pan — but either way, once it’s opened up, dock it all over with a fork and brush on a little olive oil before the sauce goes on.
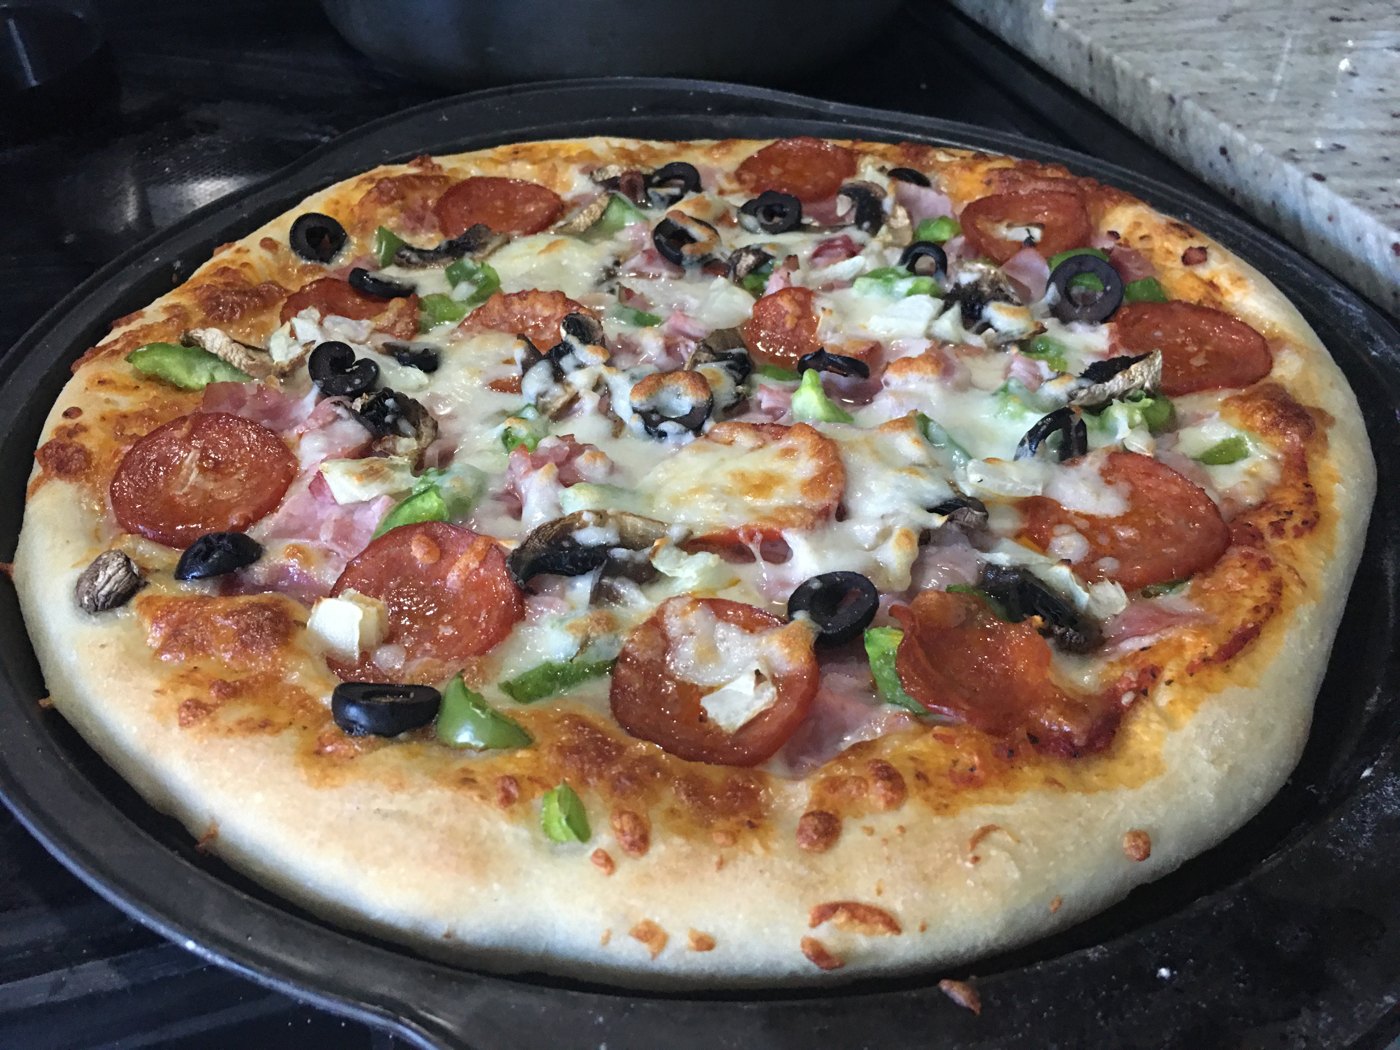
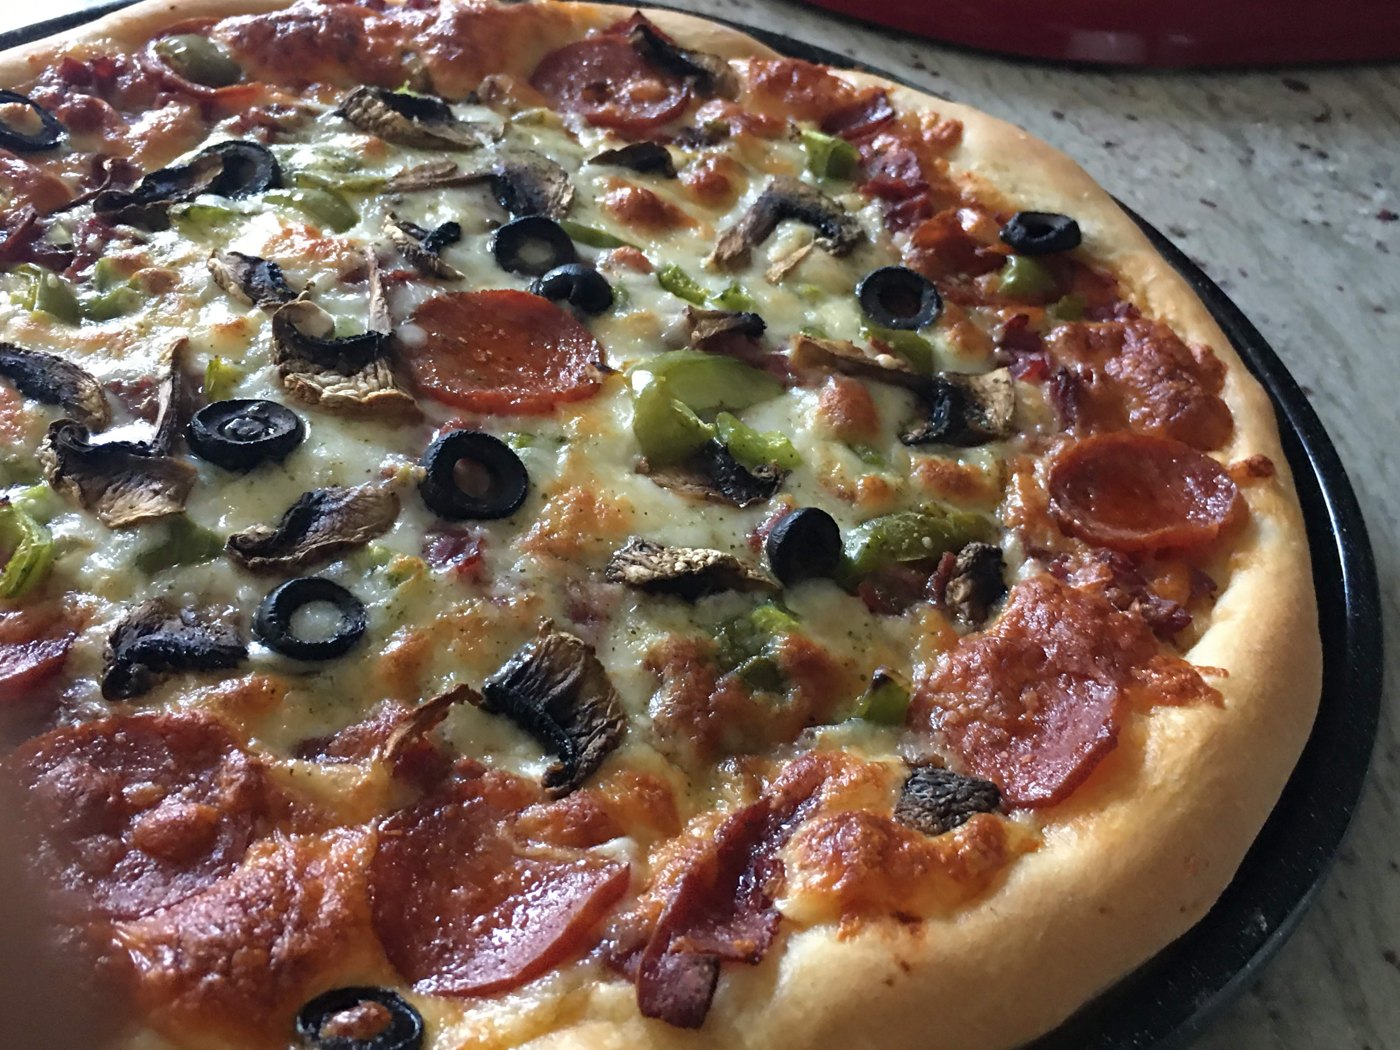
- Spread the sauce with a spoon, scatter a little mozzarella, arrange your toppings, then cover everything with another layer of cheese. Finish with thyme sprinkled over the top.
- For an extra-stretchy melt, lightly spray the top with water just before it goes into the oven.
- Before you start arranging the toppings, preheat the oven at its highest setting — around 500–510°F. If the oven isn’t fully preheated, the base won’t bake through and crisp up properly.
- Ideally, put a pan of water in the oven beforehand to create some steam.
- Baking time varies a little between ovens, but check at around 10–12 minutes — the pizza is ready when the cheese is nicely browned.
Notes
یکی از غذاهای مورد علاقه آقای شوهر و بچه جان پیتزا است. طوری که ما هفته ای یکبار پیتزا داریم!! با وجودیکه نمی خوام منکر این بشم که فست فودها با وجود ضرر های بیشمار به یکی از عادات غذایی همه ما تبدیل شده اند ترجیح دادم که خودم دست بکار بشم و چیزی رو درست کنم که خانواده ام اونو به مدل مشابه رستورانی ترجیح بدن.
حاضرم ضمانت کنم که اگر به خمیرتون اجازه استراحت بدین و دمای فر و زمان پخت رو کنترل کنید بعد از دو سه بار تمرین به نتیجه مشابه می رسید.
کار با خمیر یه تجربه جدید هرروزه است. اگه هرروز وقت بذارین ممکنه این تجربه ها یکسان بشه و به اون نتیجه دلخواهتون برسید. اگه وقت بذارین و اشتباهاتتون رو بنویسین باز هم کمک می کنه به اینکه به یک ایده آل قابل قبول برسید.
عوامل زیادی در تهیه یک پیتزای خوشمزه تاثیر دارند ولی بنظر من دو عامل از بقیه مهمترند. یکی خمیر و یکی سس. دستورهای مختلفی از خمیر و سس رو برای تهیه پیتزا امتحان کردم. و در نهایت دو مدل خمیر و یک سس، تبدیل به استانداردهای اصلی من برای پخت پیتزا شد.
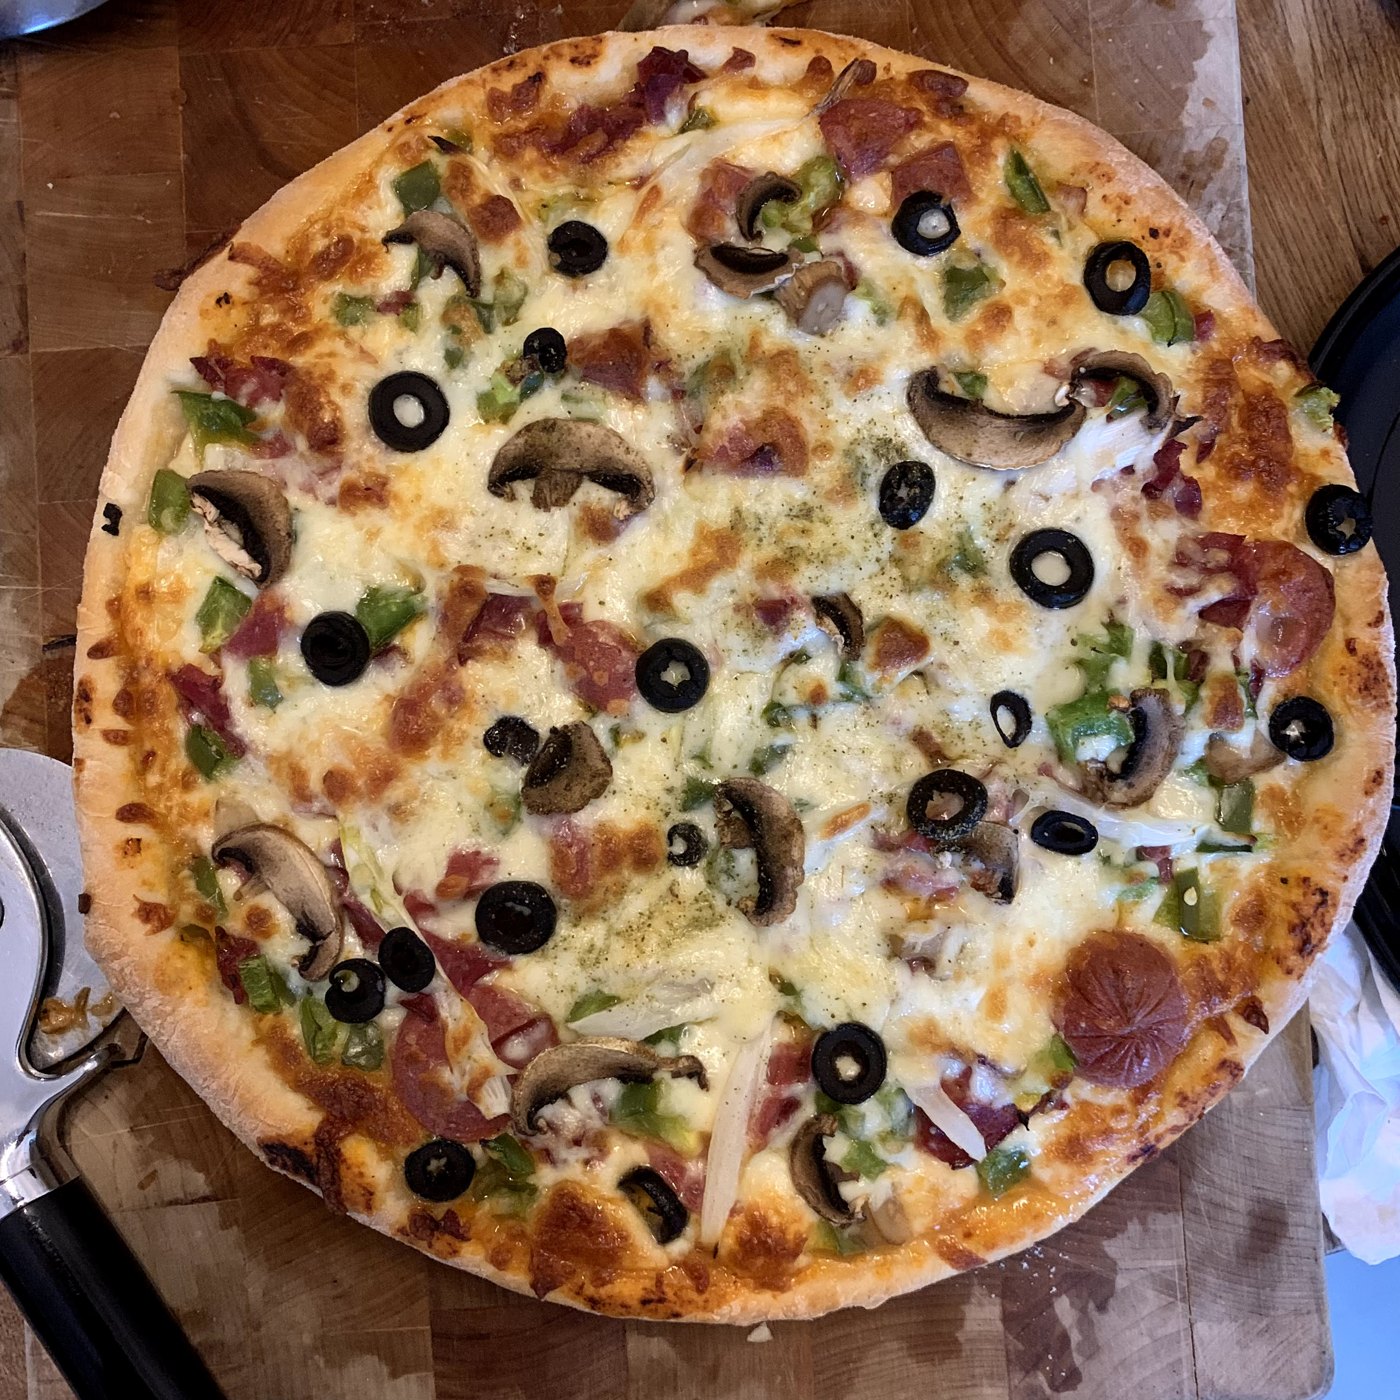
پیتزای ۳ ساعته میگمام
Ingredients
Method
- ابتدا روغن زیتون و کره را در ظرفی که بهتر است لعابی باشد بریزید و روی شعله ملایم قرار دهید تا داغ شود (برای تهیه انواع سس بهتر است از ظرف لعابی استفاده شود). سپس پیاز رنده شده و سیر را در روغن سرخ کنید تا جاییکه طلایی شود.
- بعد رب و گوجه رنده شده و سپس بقیه مواد را به مخلوط اضافه کنید و دائم هم بزنید. بعد از چند دقیقه که سس جا افتاد و همه مواد بطور کامل با هم مخلوط شدند شعله را خاموش کنید و برگ بو را در بیاورید.
- در ابتدا آب رو با آرد و آرد ذرت مخلوط کنید و بذارین توی حرارت اتاق بمدت نیم ساعت استراحت کنه؛ به اصطلاح اتولیز انجام بشه.
- بعد خمیر مایه و نمک و شکر و روغن رو به مخلوط آرد و آب اضافه کنید و با دست ماساژ بدین. اجازه بدین حدود نیم ساعت استراحت کنه، بعد سه بار متد stretch and fold / coil and fold رو هر یک ربع یک بار انجام بدین.
- بعد اجازه بدین حدود دو ساعت استراحت کنه تا زمانی که خمیر به دو برابر اندازه اولیه خودش برسه. بعد از استراحت خمیر را چونه کنید و مجدد بهش زمان بدین تا دو برابر بشه. می تونید از این خمیر دو تا چونه بگیرید یا اینکه بسته به اندازه و شکل قالبتون به یک مستطیل بزرگ یا یک خمیر گرد بزرگ تبدیلش کنید.
- اگه از همزن برقی استفاده می کنید هم مراحل کار به صورت بالاست. وقتی بقیه مواد رو به اتولیزتون اضافه کردین و خوب مخلوط شد، روی میز کار بقیه مراحل رو تا زمانی که به یک خمیر یک دست صاف برسید ادامه بدین.
- بسته به قالبی که انتخاب می کنید مدل پهن کردن خمیر عوض میشه ولی به هرحال وقتی خمیر رو باز می کنید اول با چنگال روی اون سوراخ ایجاد کنید و قبل از ریختن سس کمی روغن زیتون بزنید.
- سس را با قاشق روی خمیر پخش کنید و کمی پنیر موزارلا بریزید و سپس مواد را چیده و روی همه آنها را دوباره با پنیر بپوشانید. در آخر روی همه مواد، آویشن بریزید.
- برای بیشتر کش آمدن پنیر می توانید قبل از قرار دادن در فر روی آنرا به آرامی با آب اسپری کنید.
- فر رو از قبل از اینکه شروع به چیدن مواد رویه کنید با بالاترین درجه حدود ۵۰۰-۵۱۰ درجه فارنهایت روشن کنید. اگه فر از قبل گرم نشده باشه زیر پیتزاتون خوب پخته و برشته (به اصطلاح کریسپی) نمی شه.
- بهتره که از قبل توی فرتون ظرف آب بذارین و رطوبت ایجاد کنید.
- مدت زمان پخت بر اساس مدل فر می تونه کمی بالا پایین بشه، ولی بین حدود ۱۰-۱۲ دقیقه می تونید در فر رو باز کنید و وقتی پنیر پیتزاتون برشته شده باشه می تونید درش بیارین.
Notes
Leave a Reply